
Read our Tips for Installing Garden Fencing. Learn about choosing the right material, accurate tool use and ground prep for a sturdy installation.
Choosing the Right Materials
When selecting fencing materials, consider durability, appearance, and maintenance needs. Wooden fences offer a natural look but require regular treatment to prevent rot. Pressure-treated timber is a good option for longevity. Metal fences, such as wrought iron or aluminium, are strong and low-maintenance but can be costly.
Vinyl fencing is durable and weather-resistant, requiring little upkeep. For a budget-friendly solution, wire fencing works well for marking boundaries while allowing visibility. Think about the height and style that best suits your garden. Solid panels provide privacy, while picket or trellis fencing creates a decorative touch. Ensure your chosen material is suited to local weather conditions to avoid premature wear and tear.
Gathering Your Tools
Before starting your fencing project, gather all the necessary tools to make the process easier. You will need a tape measure and a string line for accurate positioning. A spade or post-hole digger is essential for creating deep, stable holes for the posts. Use a spirit level to ensure posts are straight and use a hammer or drill to secure panels.
If using concrete, a mixing bucket and trowel will help with setting the posts. A saw may be needed to cut fence panels to fit. Gloves and safety goggles provide protection when handling materials. Having everything prepared before you begin saves time and prevents unnecessary delays during installation.
In addition to these tools, consider using a wheelbarrow to transport heavy materials such as concrete, gravel, or multiple panels at once. This will reduce strain on your back and speed up the process.
If you are working on a particularly hard surface, a crowbar or digging bar may be necessary to break through compacted soil. For those installing metal or vinyl fencing, a power drill with appropriate bits will ensure a secure fit for screws or bolts.
If you are working with wooden panels, a wood saw or circular saw may be needed to adjust their size. A strong pair of work boots is also recommended to protect your feet from falling objects or sharp materials.
Preparing the Ground
Proper ground preparation ensures a stable and long-lasting fence. Start by marking the boundary line with stakes and string to keep the layout straight. Remove any obstacles, such as rocks, roots, or debris that could interfere with post-placement. If the ground is uneven, consider levelling it slightly to ensure uniform panel height.
For areas with soft or loose soil, reinforcing the post holes with gravel before adding concrete can improve stability. If the fence will follow a slope, plan for a stepped or contoured installation. Double-check your property lines to ensure compliance with local regulations. Taking time to prepare the ground correctly helps prevent future structural issues with your fencing.
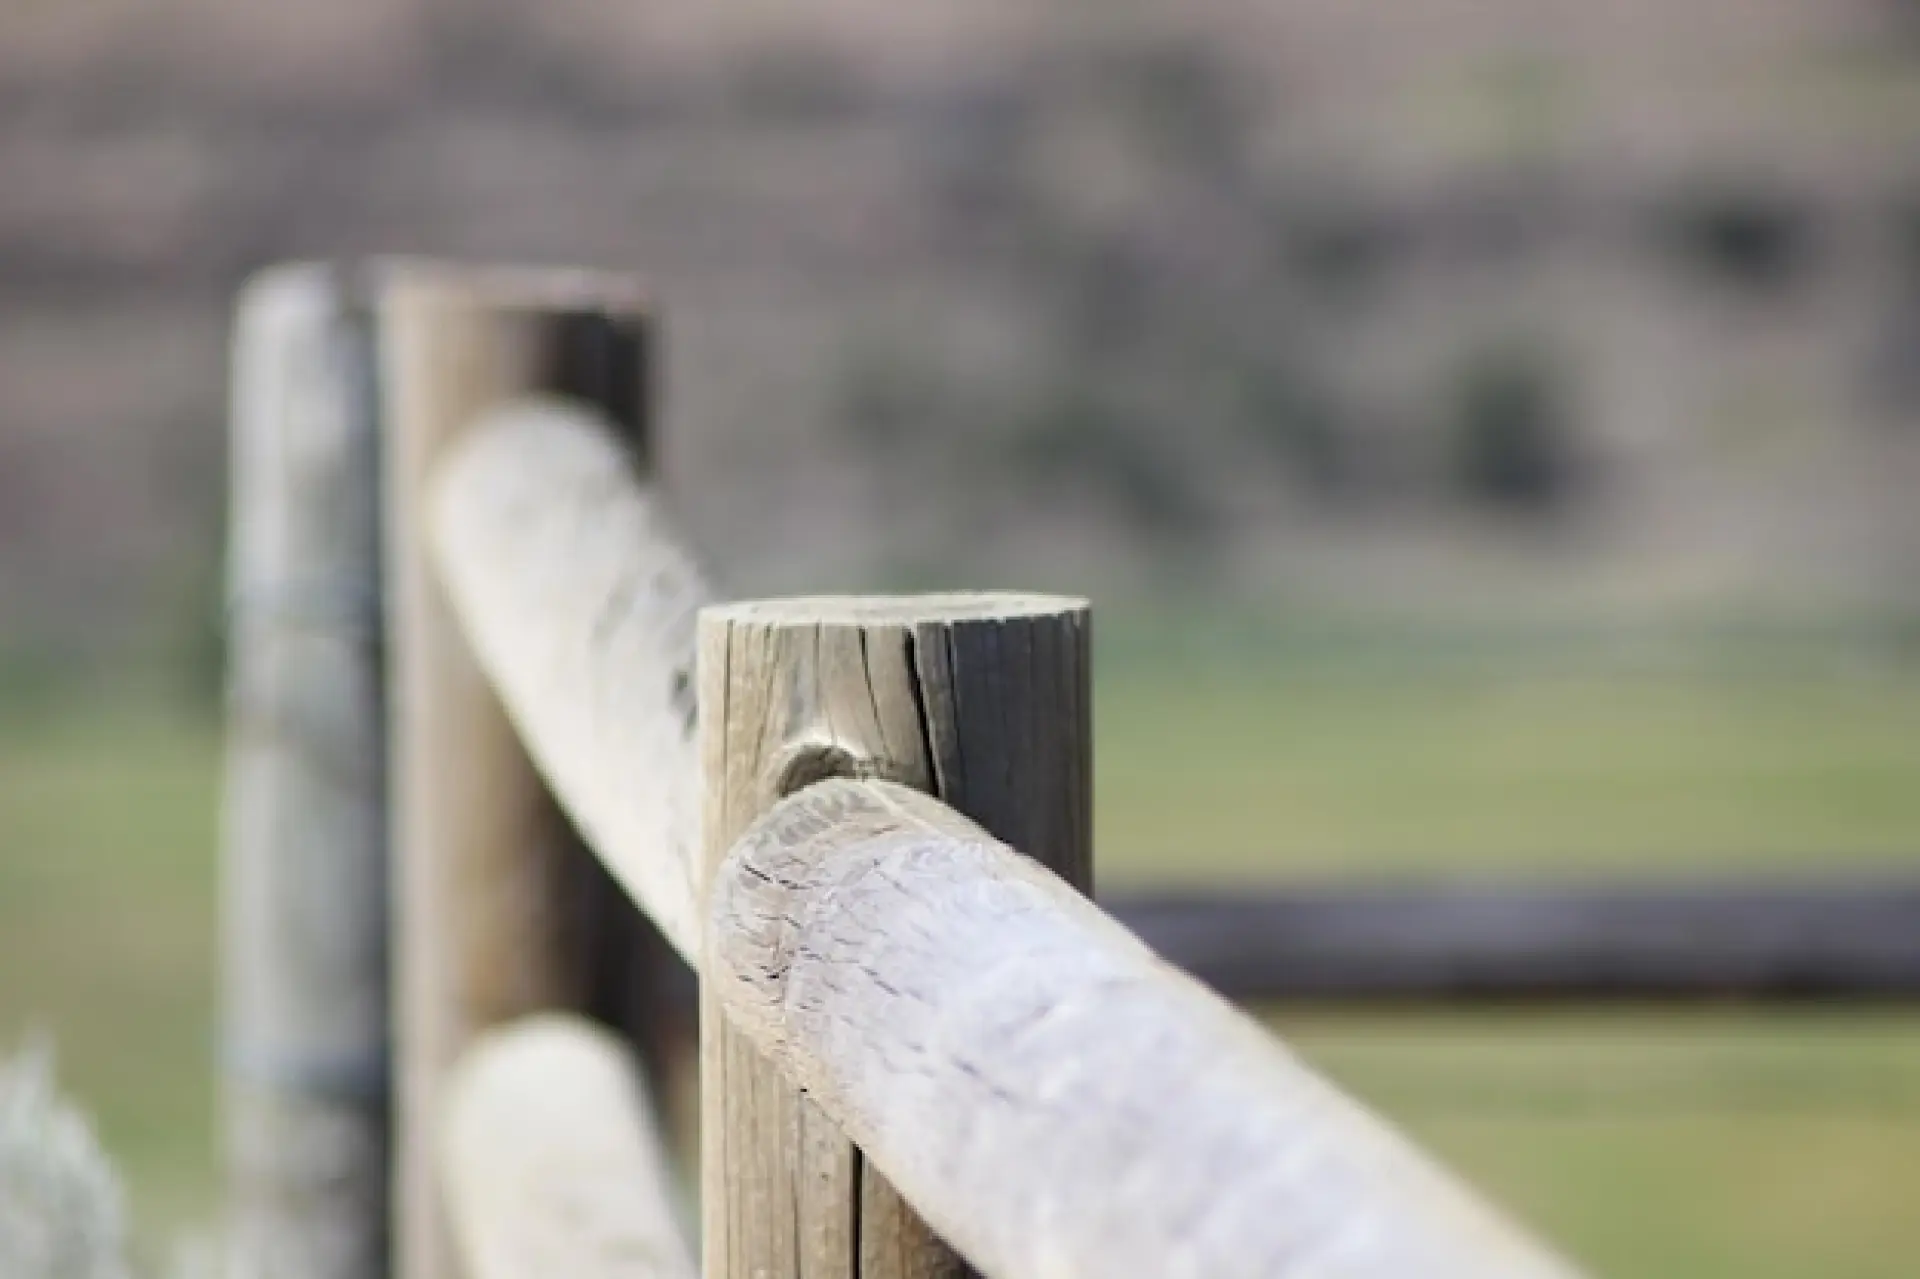
Installing the Fence Posts
The fence posts provide the foundation for a sturdy fence, so proper installation is crucial. Begin by digging post holes at least 60 cm deep to ensure stability, spacing them evenly according to the width of your panels. Place a layer of gravel at the base of each hole to improve drainage. Position the post upright and use a spirit level to check alignment.
Secure the post by filling the hole with concrete and tamping it down to remove air pockets. Allow the concrete to set for at least 24 hours before attaching panels. For wooden posts, consider using post caps to protect them from water damage and extend their lifespan.

For even greater durability, it is essential to choose the right type of post and installation method for your specific soil conditions.
If the ground is particularly soft or prone to shifting, deeper post holes and additional reinforcement, such as metal post supports, may be necessary. Some fences may benefit from using concrete posts instead of wooden ones, as they are more resistant to rot and pests.
If wooden posts are used, applying a protective treatment before installation can increase their lifespan. When setting posts in concrete, be sure to slope the top of the concrete away from the post to prevent water pooling and causing damage over time.
Attaching the Fence Panels
Once the posts are secure, you can attach the fence panels. Start at one end and position the first panel between two posts. Use a drill or hammer to secure the panel with screws or nails, ensuring it is level. If your fence requires additional support, attach brackets or wooden battens for reinforcement.
Continue attaching panels along the length of the fence, checking for alignment as you go. For added stability, consider securing the bottom of the panels to the ground with stakes. A final coat of wood preservative or paint can enhance durability and appearance. Regular maintenance, such as checking for loose fittings, will help keep your fence in good condition.
Are you looking for fencing and decking in Milton Keynes? Milton Keynes Fence Installation is the leading contractor for wooden fencing in the area. We are proud specialists of timber garden fences of all types.
We have worked with homes of all sizes and layouts to provide you with a personal, bespoke fencing solution for your property.